
What is the blanket stitch and how do I use it?
The blanket stitch is a decorative stitch used primarily for edging. It is often seen as the border on a blanket, but it can also be used on the surface of an embroidery design or in hand applique. Pair it with other decorative stitches like the lazy daisy stitch or the French knot to add depth and texture to your embroidery. In the Stitching Raccoon Sampler, the blanket stitch is used around the edge of the blanket that the Raccoon is stitching.

Get the Stitching Raccoon Sampler for FREE.
Blanket stitch diagram
Below is what a typical diagram for the blanket stitch may look like in an embroidery pattern or on other how-to pages.

See the blanket stitch in action
Follow along with this quick video to see how each step of the blanket stitch comes together.
Step-by-step instructions
Now, let's walk through each step in the blanket stitch together.
Step 1: To start the blanket stitch, bring your needle up from the back at your starting point, along what will be the edge.
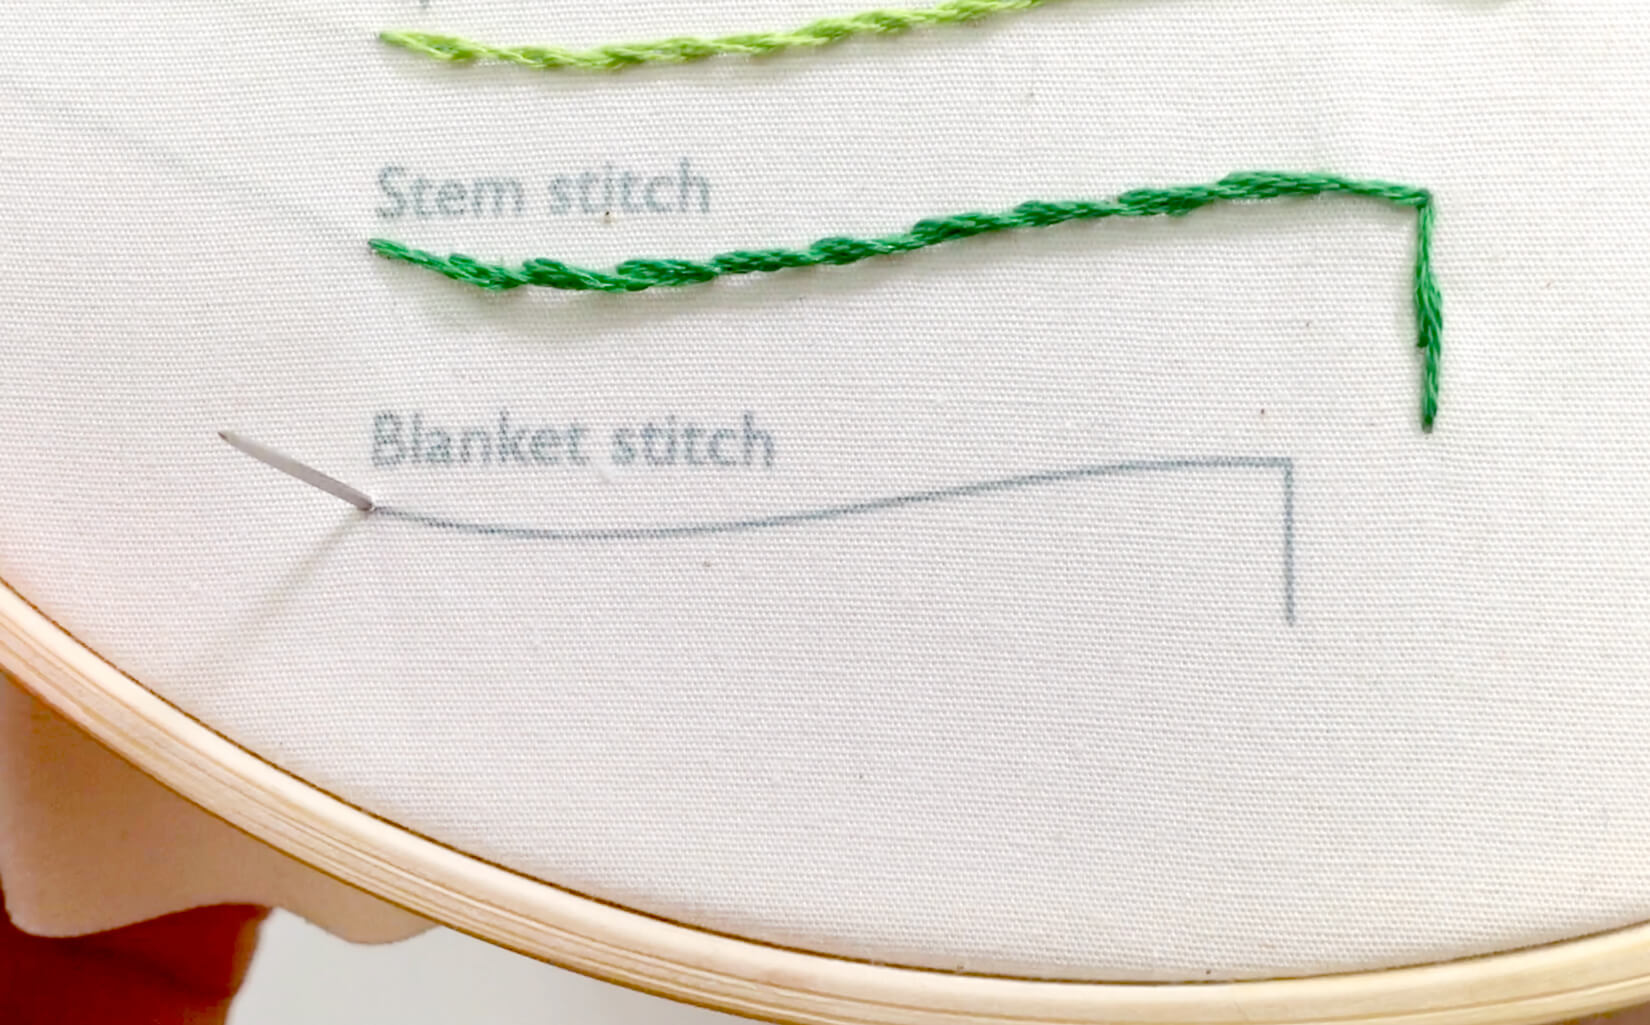
Step 2: From the front, insert your needle about a quarter of an inch down from the edge and a stitch length over from where you started. Do not pull the thread tight yet.

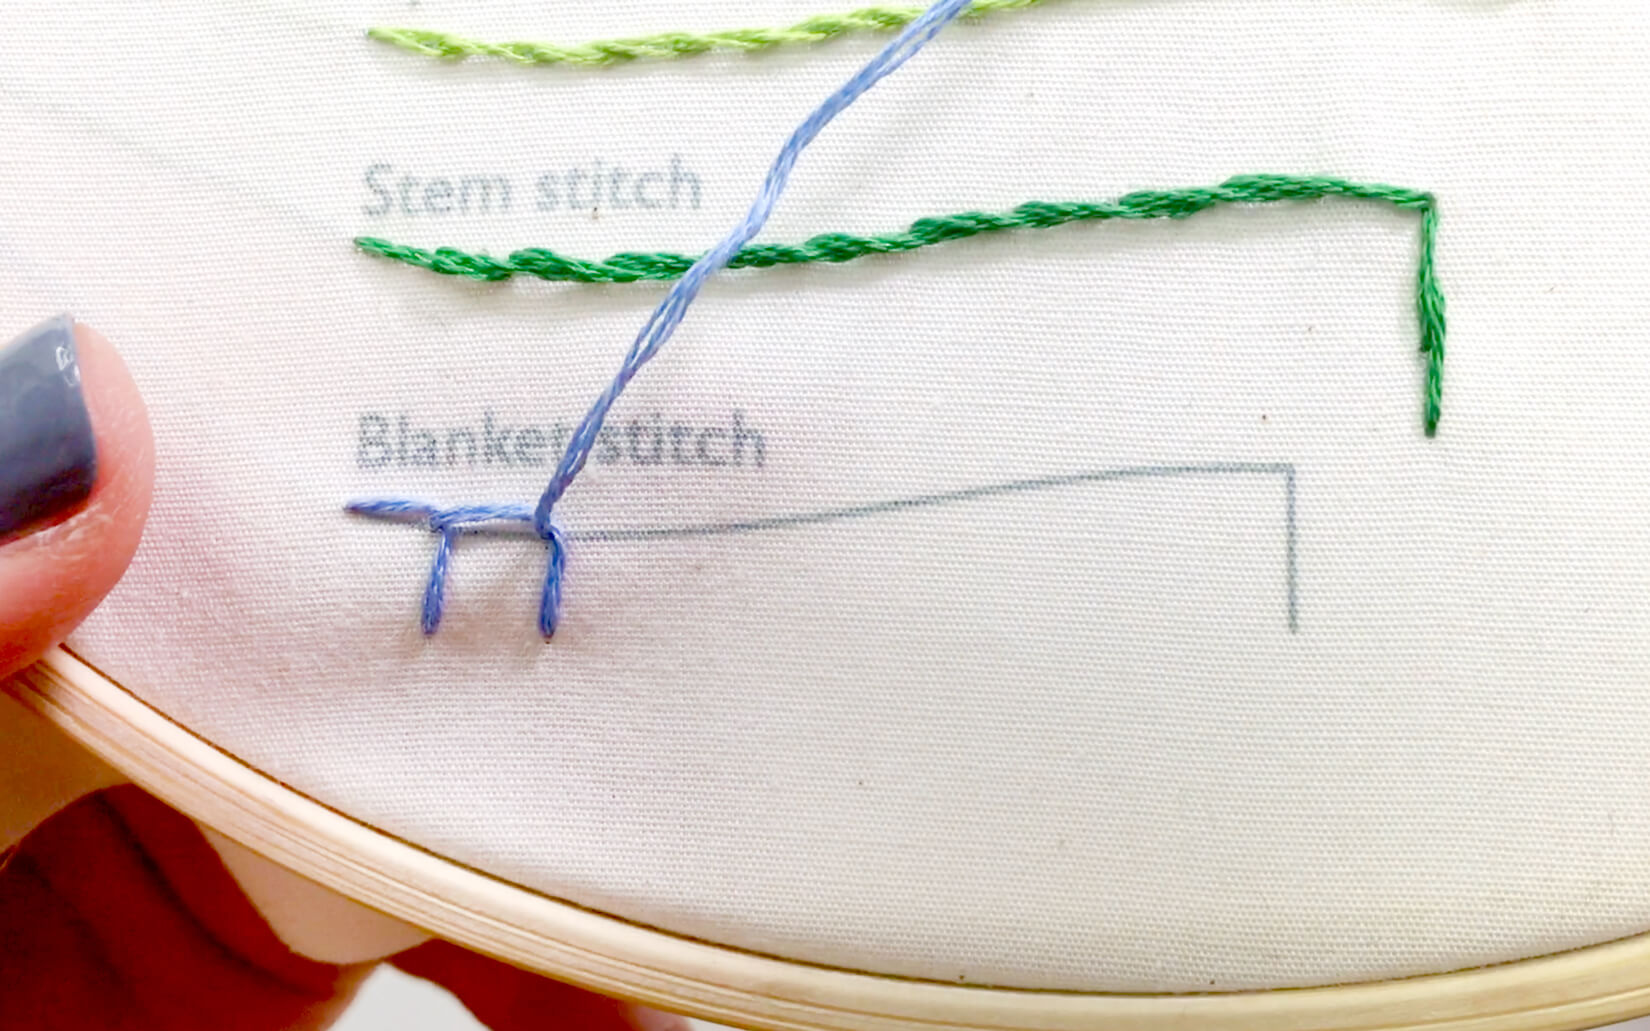
Step 3: Now, bring your needle back up along the edge, directly above where you just went down. Be sure that your needle is on the inside of the floss, creating a 90-degree angle. Pull the stitch taut.


Step 4: Repeat this stitch as you work along the edge, going about a stitch length over, and a quarter of an inch down each time.


Step 5: To stitch a 90-degree corner with the blanket stitch, stop about a stitch length away from the corner. Instead of inserting the needle ahead a stitch, put it down through the last stitch you made, about a quarter of an inch down from the edge.
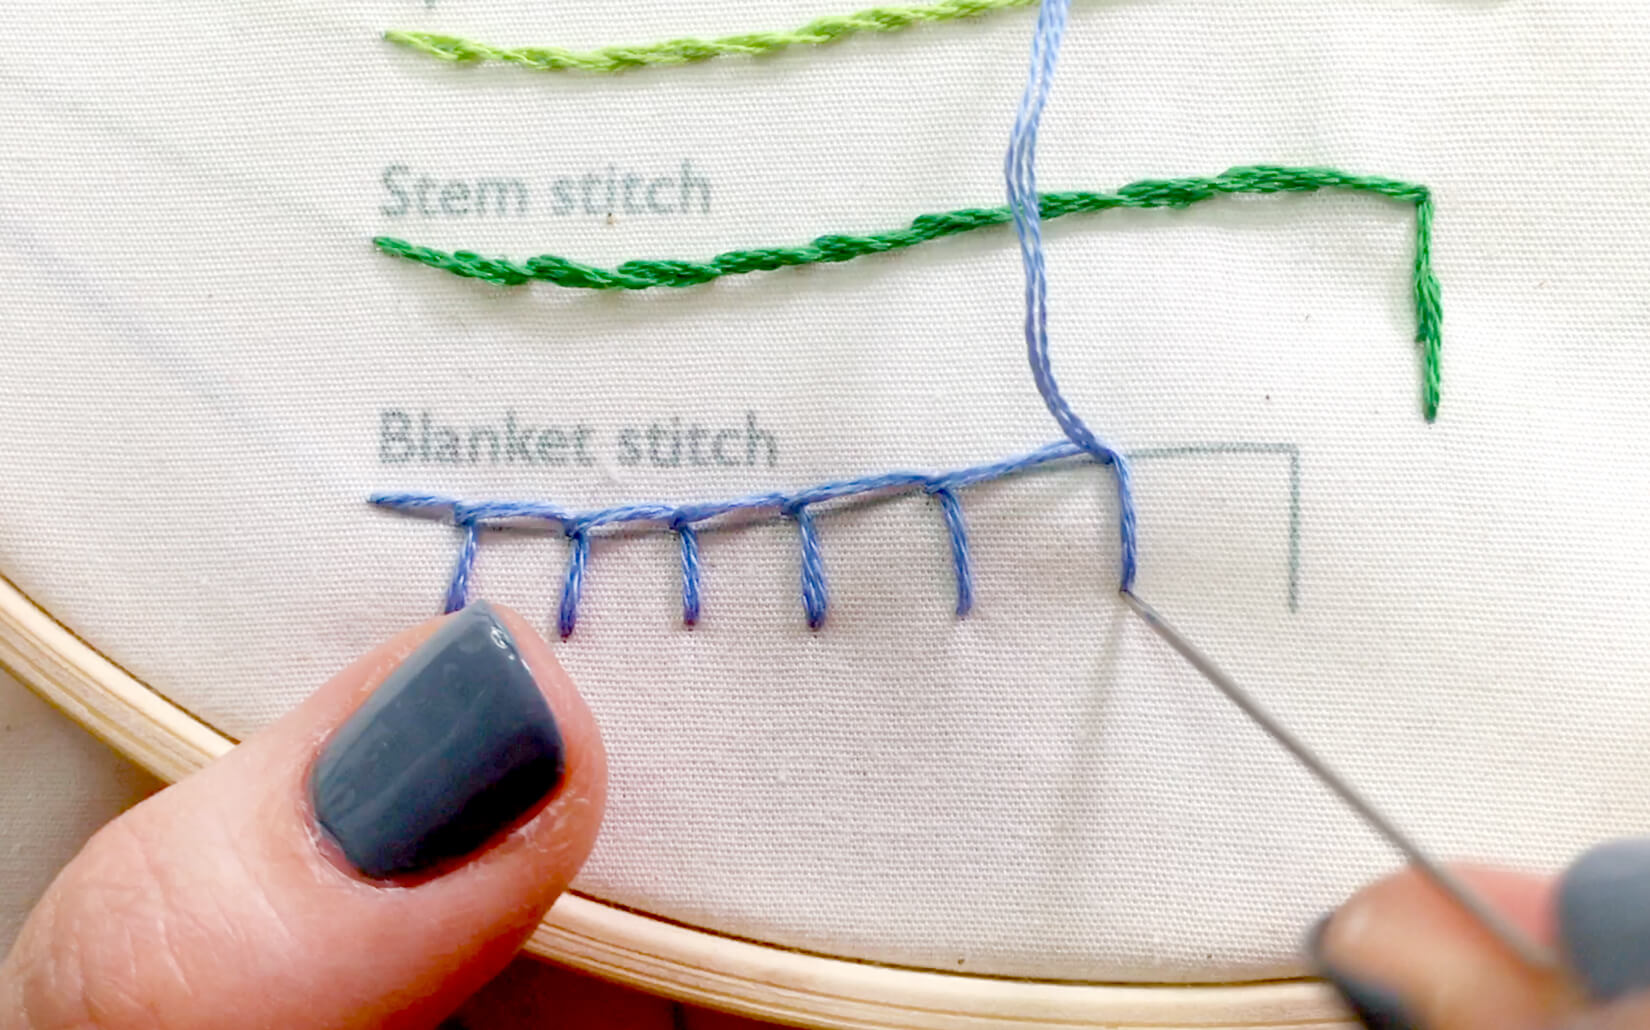
Step 6: Then, bring your needle up at the corner, still keeping the needle inside of your floss. This will create a diagonal, 45-degree angle.


Step 7: Send your needle back down through the same hole again (this will be the third time through this hole) and come up a stitch length away from the corner, finishing your corner stitch. You can now continue with the blanket stitch along this side.


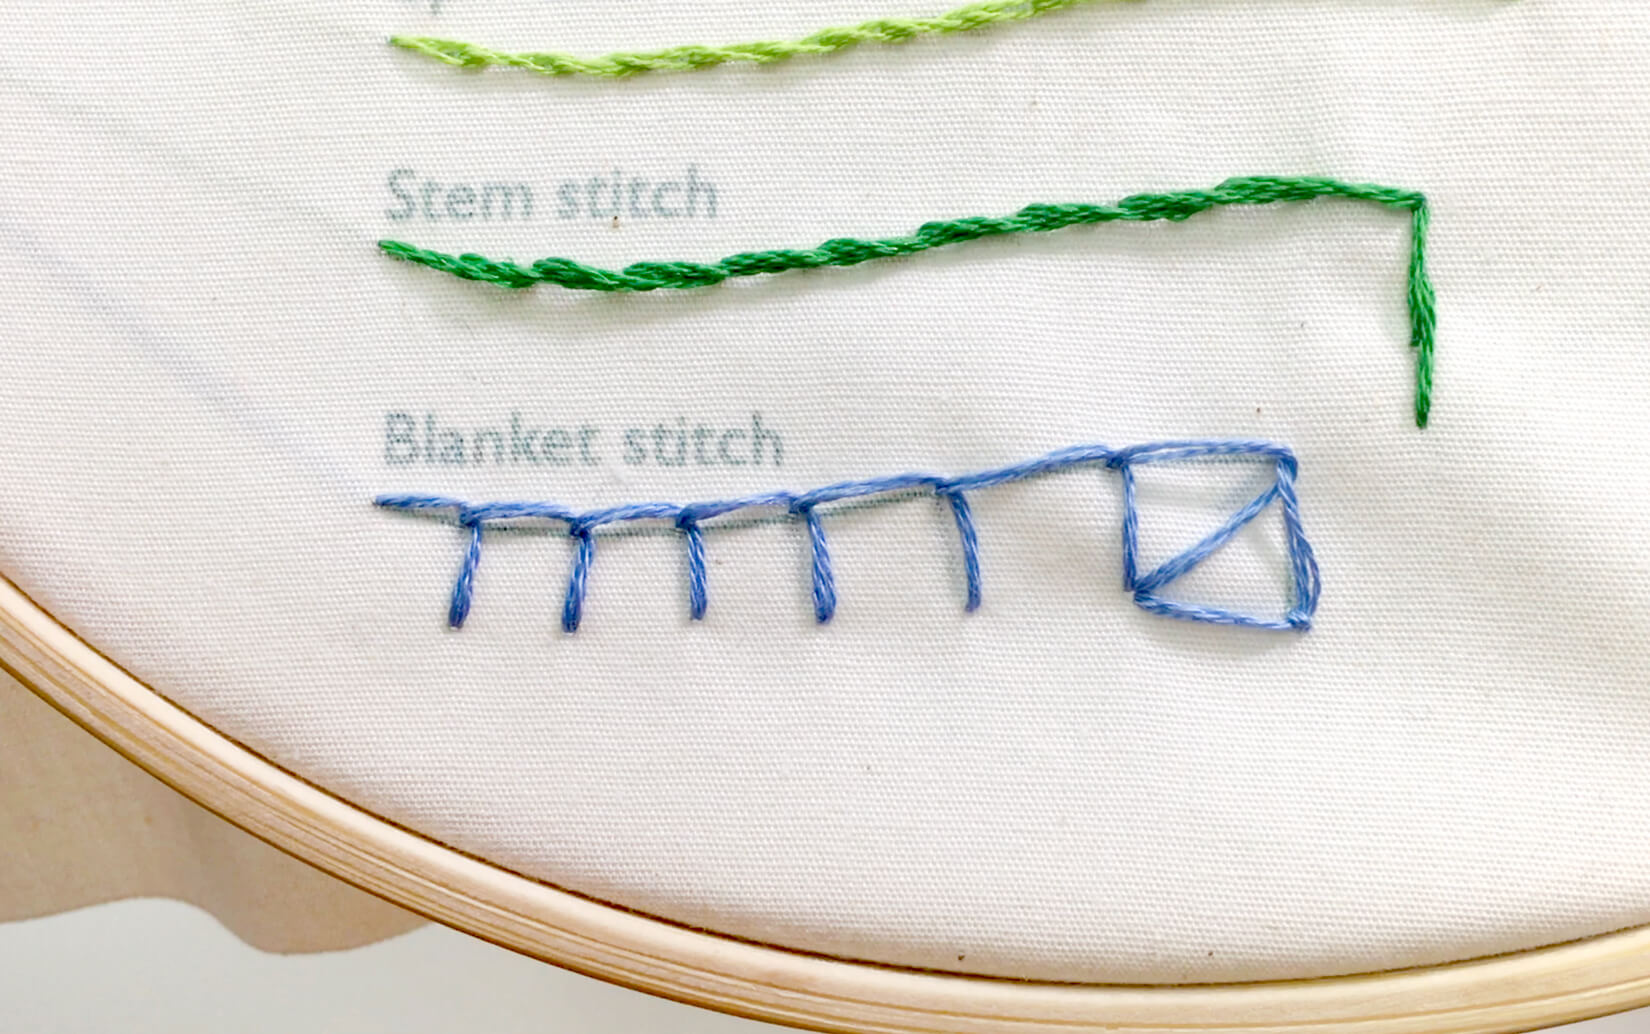
Step 8: To finish the blanket stitch, make a small anchor stitch on the other side of the loop to hold it in place.

Save it for later
Want to remember how to do the blanket stitch? Pin the image below to Pinterest as a quick reference for later!

Give it a try, you can do it!
Now it's your turn to grab a needle, some embroidery floss, and give it a go! Practice the blanket stitch, along with other basic embroidery stitches, in the Stitching Raccoon Sampler. Get the embroidery pattern for FREE by signing up below!
