Stitches used in this kit
Watch the video or click the stitch diagram to be taken to the full tutorial!
Backstitch

Bring needle UP at 1. Insert needle DOWN at 2 making a stitch backwards along the line to meet last stitch. Come UP at 3 a stitch length away from 1. Continue along line.
Blanket Stitch
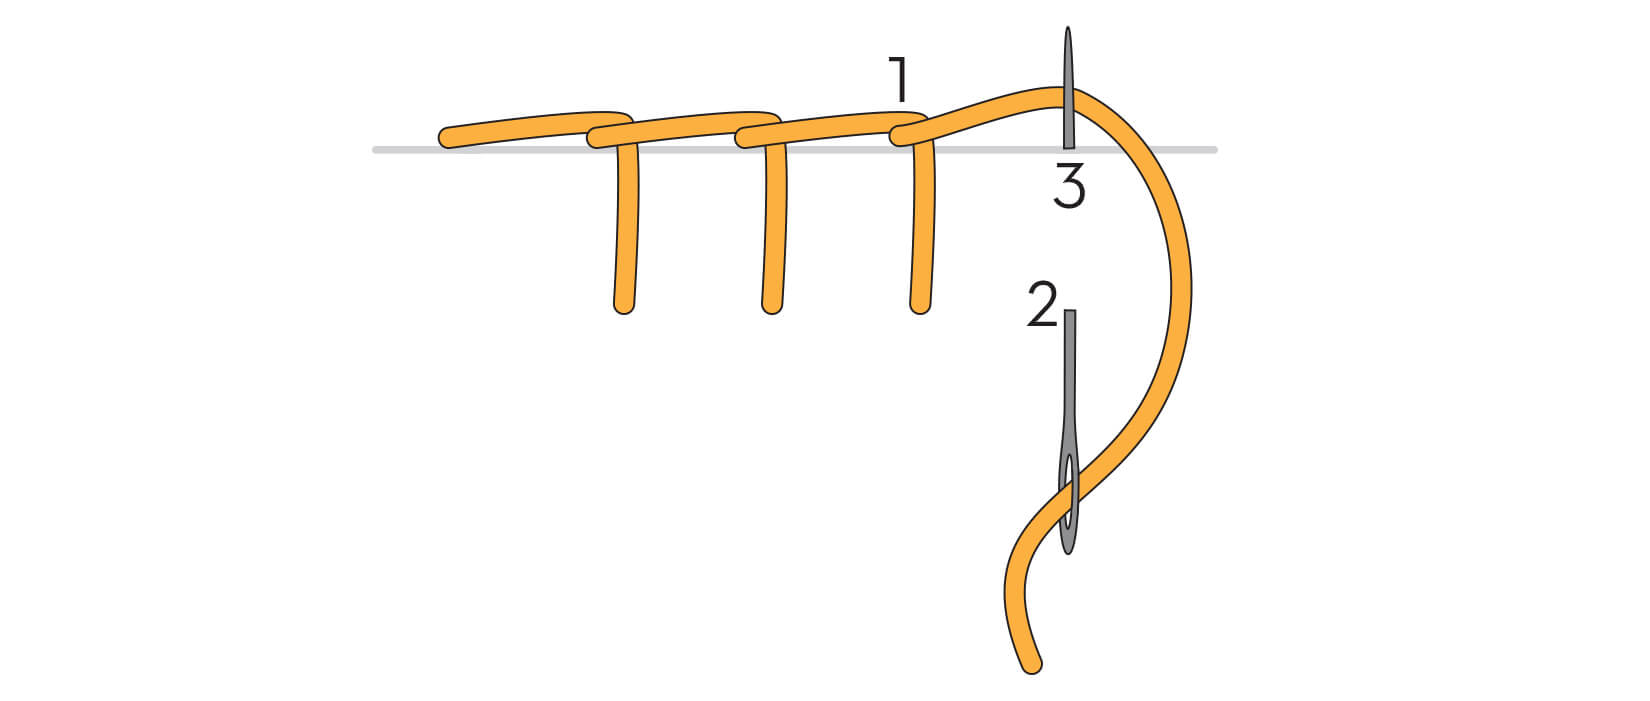
Bring needle UP at 1. Insert needle DOWN at 2, a stitch length both to the right and down from line. In the same motion, come UP at 3, perpendicular to line. Place floss under needle tip and finish pulling needle to front of fabric. Continue along line. To end the row, make a tiny stitch over last stitch, securing the stitch in place.
Satin Stitch

Bring needle UP at 1 on edge of shape. Insert needle DOWN directly across on opposite edge of shape at 2. Come UP at 3 on first edge of shape, one to three fabric threads away from 1. Continue filling in shape with stitches.
Whipped Backstitch
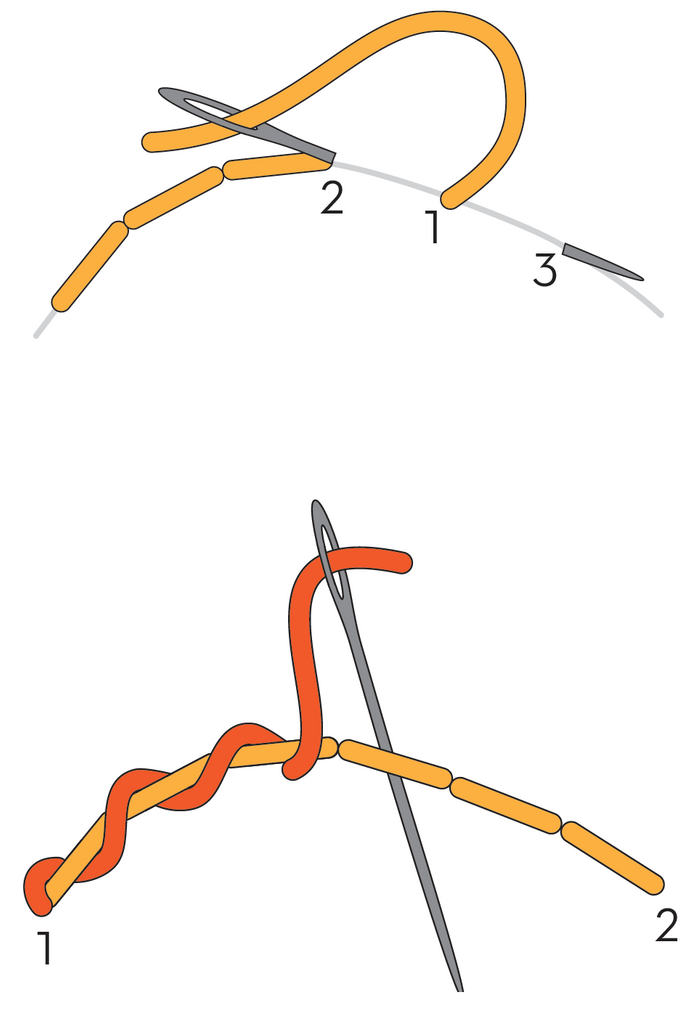
Step 1: Backstitch - Bring needle UP at 1. Insert needle DOWN at 2 making a stitch backwards along the line to meet last stitch. Come UP at 3 a stitch length away from 1. Continue along line
Step 2: Ship - Bring needle UP at the start of the backstitch row (1). Bring the needle behind the first backstitch staying on the front of the fabric. Continue wrapping around each backstitch always starting on the same side of the backstitch. Finish the row by inserting the needle DOWN at the end of the backstitch row (2).
Buy the pattern!

Butterfly Embroidery Kit